


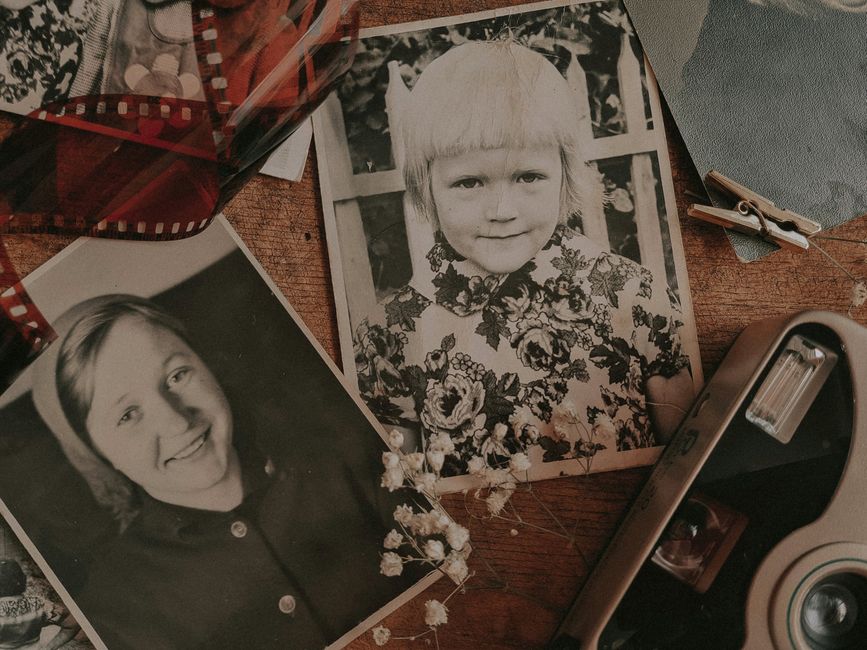
Your grandmother’s wedding photo is sitting in a shoebox with a crack down the middle. That family portrait from 1985 has faded so much you can barely see faces. Sound familiar? Photo restoration for damaged old photographs is the process of digitally repairing and enhancing old prints to bring them back to their original quality—or as close as possible. It’s not magic, but it’s closer than you might think.
The good news: most old photo damage can be fixed. Cracks, fading, dust, tears, scratches—modern digital tools can handle all of it. The better news: you have options. You can use free online tools for quick fixes, try professional software yourself, or hire a specialist to do the heavy lifting. This guide walks you through everything you need to know to save your family photos.
Related: Professional Headshots Denver Metro: Complete Guide 2026
Related: Photo Booth Rentals in Colorado: Complete Guide
Understanding the Damage: What You’re Actually Dealing With
Before you jump into restoration, spend five minutes assessing what you’re working with. Different types of damage require different approaches.
Physical damage is what you can see and touch: creases, tears, water stains, folds, and scratches on the print itself. This is usually straightforward to fix digitally because the damage is visible and localized.
Chemical or environmental damage is sneakier. Fading happens when old photo dyes break down over time—especially if photos lived in sunlight or humid basements. Discoloration, yellowing, and color shifts fall into this category. These take more skill to correct because you’re essentially guessing at what the original colors should have been.
Combination damage is when you’ve got both. A 1950s photo with visible creases AND significant fading. These are the most challenging, but still restorable with patience.
Here’s the real talk: extremely faded or low-quality original photos have limitations. You can improve them, but if the original print was already poor quality or nearly blank from age, there’s only so much digital restoration can do. The better the starting material, the better your results.
The Photo Restoration Process: Step by Step
Professional photo restoration follows a consistent workflow. Understanding this helps you decide whether to DIY or hire someone.
Step 1: Scan the physical photo
You need a digital file before any restoration can happen. Use a quality flatbed scanner (at least 600 DPI, ideally 1200 DPI for old photos). Gently place the original photo face-down on the scanner glass. Clean the glass first so dust doesn’t add extra work. Save the scan as a high-quality file (TIFF or high-quality JPEG).
Step 2: Assess damage severity
Open your scan and zoom in. Look at the entire image for tears, scratches, fading patterns, color shifts, and dust spots. Make notes about what needs fixing. This prevents you from missing problem areas during restoration.
Step 3: Clean up dust and scratches
Start with the most obvious surface-level problems. Dust spots and minor scratches are removed first because they’re quick wins. Most photo editing software has automated dust-removal tools that work surprisingly well.
Step 4: Repair structural damage
Tears, creases, and major scratches come next. This is where the real work happens. You’ll use clone tools or content-aware fill to reconstruct missing or damaged areas by sampling nearby pixels. It requires patience and a steady hand (or mouse).
Step 5: Restore color and tone
Once the damage is fixed, adjust fading and discoloration. Increase contrast, brighten shadows, and correct color casts. This is where your photo starts looking like itself again—not just repaired, but revived.
Step 6: Final touch-ups and export
Sharpen edges if needed, do a final quality check, and export your restored image in a format you’ll actually use (high-quality JPEG for sharing, TIFF for archival storage).
DIY Restoration: When Free Tools Actually Work
Not every damaged photo needs professional help. If your photo has minor scratches, light fading, or basic dust spots, free or low-cost tools can deliver solid results in minutes.
Adobe Firefly (free tier available) is genuinely impressive for quick restoration. You describe what you want fixed in plain English, and the AI handles it. “Remove scratches” or “brighten faded colors”—it gets the job done. Results are fast (seconds), though you’re trading precision for speed. Works great for light damage.
Photoshop (if you already have a subscription) is the professional standard. The learning curve is steep, but the tools are powerful. Clone stamp, healing brush, content-aware fill—these are what professional restorers use. Expect to spend hours learning, but once you get it, you can handle almost anything.
Free alternatives like GIMP exist, but honestly, they’re more frustrating than helpful for photo restoration unless you’re already comfortable with them. The tools aren’t as intuitive and results take longer to achieve.
Real talk: DIY works best when you have time and patience. If you’re restoring one or two photos, it might be worth learning. If you have a stack of 20 old family photos waiting, professional help saves your sanity.
Professional Photo Restoration: What You’re Paying For

Professional restoration services range from $59 to $149 per photo, depending on damage complexity. Mountain View Photo, LLC understands that some memories are too precious to leave to chance, which is why professional restoration is worth considering for your most treasured images.
Light Restoration ($49) handles minor scratches, light dust, and simple fading. Quick turnaround, affordable, great for photos that just need a little cleanup.
Medium Restoration ($89) covers moderate damage: visible creases, water stains, color shifts, and multiple issues combined. This is the sweet spot for most old photos.
Medium-Heavy Restoration ($119) tackles complex damage: major tears, significant fading, severe discoloration, or reconstruction of missing areas. Requires specialized skill and time.
Heavy Restoration/Extensive Reconstruction ($149) is for photos that are barely recognizable. Water damage, mold, extreme fading, or entire sections missing. Sometimes called “resurrection” rather than restoration because you’re essentially rebuilding the image.
What you’re actually paying for: expertise, time, and accountability. A professional has restored hundreds of photos and knows what works. They understand old photo chemistry, color science, and how to make educated guesses about what faded colors should look like. They also keep backups and will redo work if you’re not happy.
Many retailers offer restoration services too, though quality varies widely. Some specialize in it; others treat it as a side service. If you go this route, ask to see examples of their work on photos similar to yours.
Should You Go Professional or DIY? The Real Decision Tree
Choose DIY if your photo has minor damage (a few scratches, light fading) and you have an evening to kill learning software. Choose professional if any of these apply:
- The photo is irreplaceable (only surviving print of a deceased loved one, for example)
- Damage is extensive (multiple tears, severe fading, water damage)
- You have multiple photos to restore (your time is worth money)
- You want a guarantee the work will be redone if you’re unhappy
- You don’t want to invest time learning restoration software
Honest perspective: if a photo matters enough to restore, it usually matters enough to get it done right. A botched DIY restoration can sometimes make things worse. A professional gets one shot and nails it.
If you decide to go professional, companies like Mountain View Photo combine technical restoration expertise with genuine care for preserving your family history. They understand that these aren’t just old photos—they’re moments you want to pass down.
Protecting Your Photos After Restoration
Once your photo is restored, protect it. Don’t just save one copy on your computer and call it done.
Make at least three backups: one external hard drive, one cloud service (Google Photos, Dropbox, etc.), one printed copy if it matters that much. Store originals in acid-free sleeves in a cool, dry place. Keep restored digital files in both JPEG and TIFF formats—TIFF preserves quality better for long-term storage.
If you had a professional do the restoration, ask for the high-resolution master file, not just a web-sized version. You want the best quality preserved for future needs.
How Modern Photo Restoration Technology Has Changed
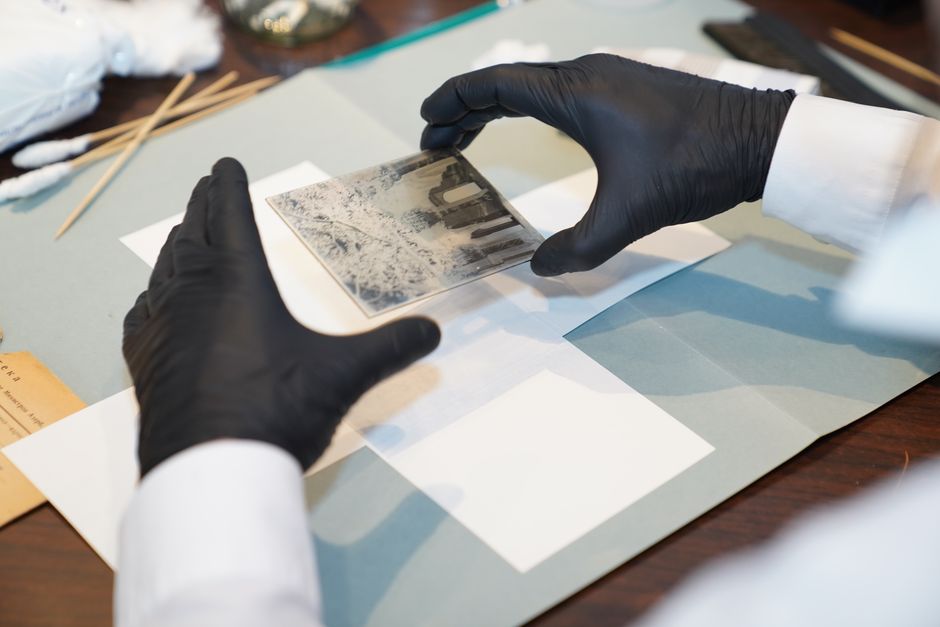
AI and machine learning are transforming photo restoration, making it faster and more accessible than ever. What required hours of manual work can now be accomplished in minutes.
That said, AI still has blind spots. It’s fantastic at removing dust and minor scratches. It struggles with artistic decisions—like what color a faded dress should be when no reference exists. This is why professional human judgment still matters, especially for complex or emotionally significant photos.
The future is probably hybrid: AI handles repetitive tasks (dust removal, basic color correction), and humans handle the nuanced work (reconstructing missing faces, making artistic color choices, deciding when “restored” means accurate versus when it means beautiful).
Why This Matters More Than You Think
We treat old photographs like they’re just images, but they’re not. They’re proof that moments happened. They’re connections to people you miss. They’re visual history.
Photo restoration gives you permission to actually look at these images again instead of tucking them away because they’re too damaged to enjoy. It brings your grandmother’s face back into focus. It lets your kids see what their great-grandparents looked like. It transforms a faded memory into something tangible again.
That’s worth doing right.
How long does professional photo restoration usually take?
Most photos are restored within 1-2 weeks, though it depends on damage severity and how busy the service is. Complex restoration can take 3-4 weeks. Always ask for a timeline upfront.
Can every damaged photo be restored?
Not perfectly, no. Photos with extremely severe damage, very low original quality, or extreme fading have limits. But even heavily damaged photos usually improve significantly with professional restoration. Ask the restorer for an honest assessment before you commit.
What file format should I save my restored photo in?
Save the master file as TIFF (lossless, highest quality, best for long-term storage). Create a JPEG copy for sharing and everyday use. TIFF files are larger but preserve every pixel of detail. JPEG is smaller and convenient but loses some quality each time you edit and re-save it.
Is it worth scanning and restoring really old, faded photos?
Yes, absolutely. Even heavily faded photos often contain more information than you think. A skilled restorer can frequently recover details that seem invisible to the naked eye. If the photo matters to you, it’s worth the investment—even if the original is nearly blank.